
One of the most viewable genres on sites such as YouTube and Twitch is gaming content. And no matter whether you stream a live session, do some walkthroughs, or upload some highlight reels, there is one thing that should remain central: good editing. Enter CapCut Desktop, the heavyweight virtual assistant that lets you edit your footage with no stitches, add voiceovers, and edit your gaming content to sparkle in the sea of distraction. AI voice generatorThe versatility of editing capabilities, combined with the use of AI features in CapCut, such as the, enables creators to be more productive and focus on creating rather than working on the technical aspects of the process. This guide will teach you how to edit your game-playing videos using CapCut Desktop Video Editor, step by step, and be ready to upload.
Why Use CapCut for Gaming Video Editing?
CapCut has an easy user interface and more powerful features, including keyframe animations, overlay editing, multitrack timeline editing, and AI-based tools. CapCut offers a smooth and quick way to add sound effects, trim dull parts, or improve video quality most of the time.
Gaming videos usually demand neat transitions, zooming of the camera, animated captions, and lively in-background music, and CapCut easily completes them all without the need to master it in a few weeks.
Step by Step Guide: How to Edit Gaming Video in CapCut
Step 1: Start a New Project and Import Gaming Footage
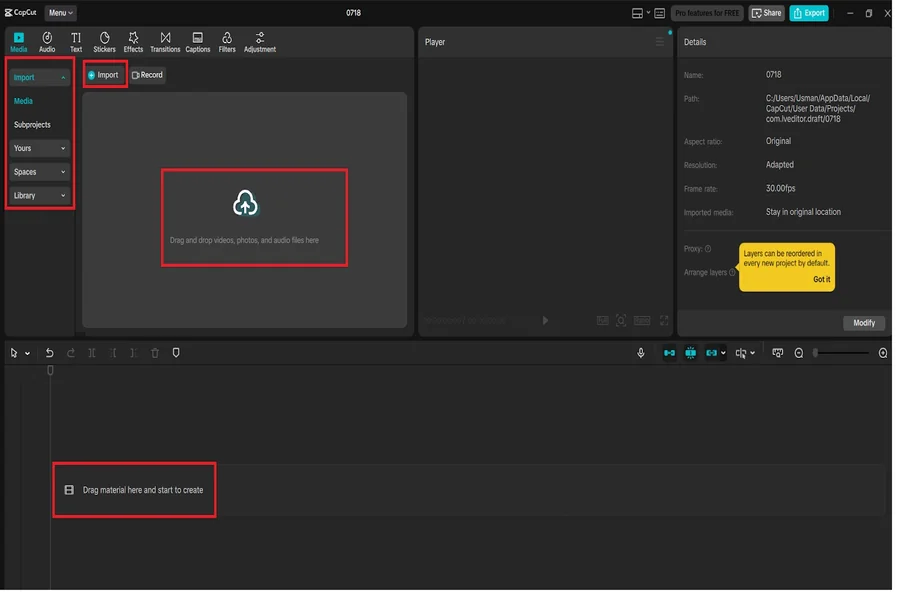
First, open CapCut Desktop and select “New project” in the upper window. You will be taken to the editing timeline screen.
At this point, go to the “Media” panel on the top-left corner and click on “Import” and choose your recorded gameplay. After importing, you can drop the video into the timeline and then edit it.
You can take screen recordings, webcam footage, or individual audio files (such as game sound or commentary) and import them altogether and edit them multi-track.
Step 2: Trim, Cut, and Arrange Your Clips
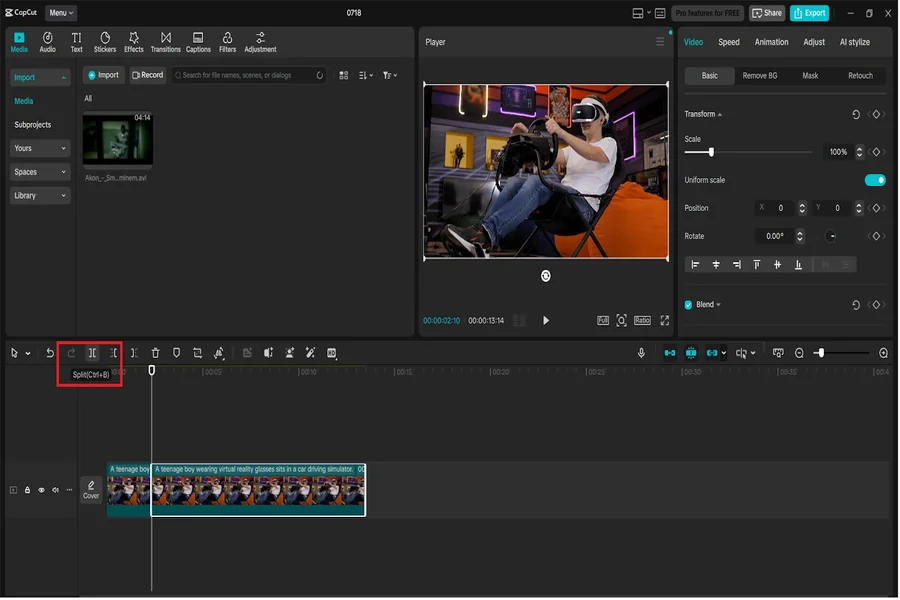
The average gameplay recording, as it is recorded directly from raw gameplay, is long and full of mundane details. Begin editing your footage by choosing a video on the timeline and moving the beginning and the end of the video to edit out what is not needed.
To be able to make accurate separations, put the playhead at the point where you would like to divide and click on the “Split” mark on the upper toolbar. Just drag clips into the timeline and rearrange your scenes.
To eliminate dead space or errors, use the “Delete” option. This part assists in reducing your material into a better highlight or tutorial.
Step 3: Add Effects, Transitions, and Music
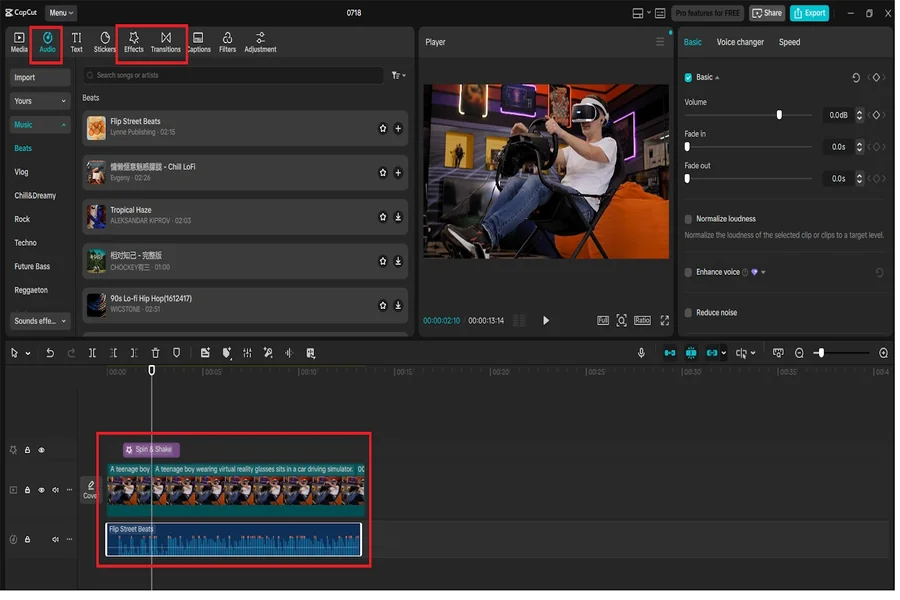
To examine such gaming favourable visual effects as motion blur, glitch, or screen shake, open the corresponding left sidebar tab Effects. It is possible to add any effect to a video by dragging and dropping it onto a video clip on the timeline.
Next, open the tab called “Transitions”, add smooth transitions between the scenes, zoom in, fade, or spin to keep the flow.
Then, go to the “Audio”, where you can select one of the available music and sound effects in the CapCut library. In case you own any background music or some remarks, you can simply drag them to the audio clip in the timeline. To have a clearer picture, it is advisable to segregate the sound made in the game and the sound made in the commentary, so that we can control the volume later.
Step 4: Enhance Visual Quality Using AI Tools
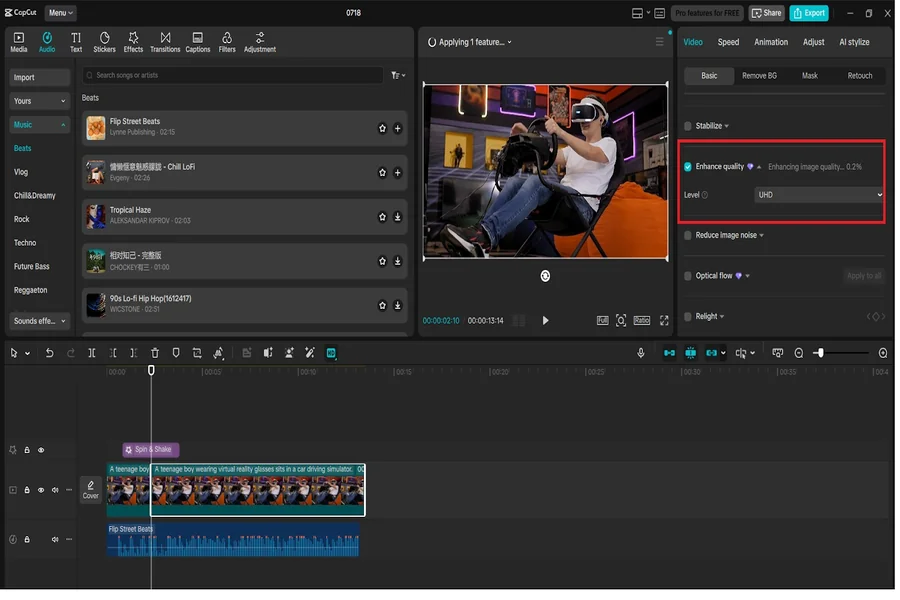
CapCut has built-in features to enhance the appearance of your video to make your gaming footage top-notch and professional. After you click your clip on the timeline, you have to go to the “Video” panel (on the right side of the window) and then click on the button called “Enhance quality”.
There will emerge a window with enhancement options. Select the option AI video upscaler and have the program improve resolution and details all on its own, particularly when you are dealing with somewhat blurry or compressed game footage.
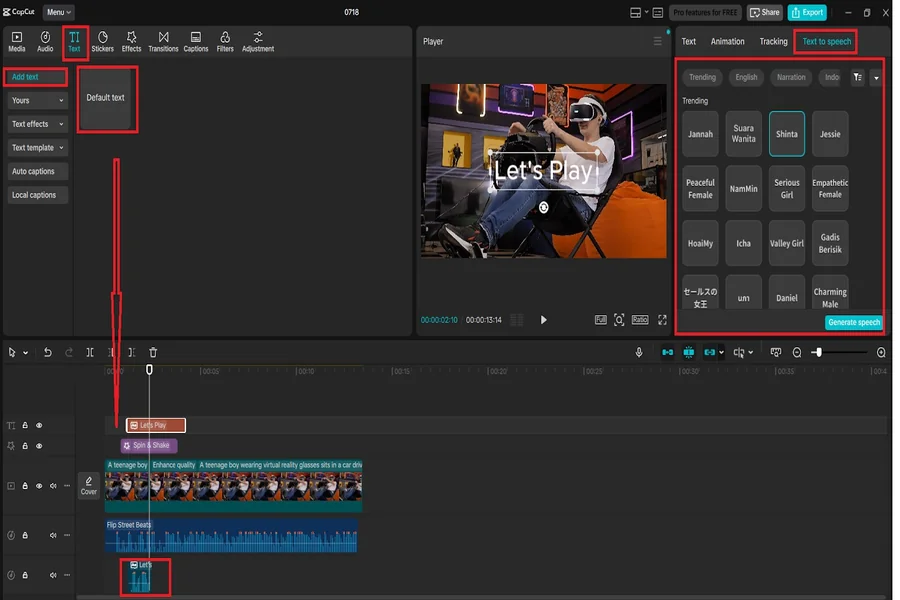
Step 5: Add Captions and Voice Commentary
In the case of such platforms as YouTube or Twitch, captioning and commentary are the most important features that enhance viewer engagement. It is easy to do with text and AI on CapCut.
To include captions, select the “Text” option and select “Auto captions”. CapCut can then auto-sync text to your voiceover feed already in hand.
Use text-to-speech without a mic or a recorded commentary. Select “Text to speech” and use several digital voices created with the help of AI. Pitch, speed, and tone can be modified to have a more personal narration.
The text to speech AI feature is ideal in this case because you can use it to do tutorials or game analysis without recording your voice.
Step 6: Export and Upload to YouTube or Twitch
As soon as you finally like your corrections, go to the top-right corner and press the button saying “Export”. Select the resolution you want (1080p or 4K works best), frame rate, and file format, which should be MP4, since it is the most optimal format on both YouTube and Twitch.
Type in the name of your project, choose the folder in which the project’s output will be saved and then press the “Export” button. Your video is edited, so you may upload it straight to your channel or schedule it through your content calendar.

Conclusion
The process of editing videos on YouTube and Twitch can be pretty simple and does not require many hours. CapCut Desktop allows cutting, adding cool effects, upscaling the quality with an AI video upscaler, and even recording voiceovers with a text-to-speech AI, all without having to switch between several tools.
It is time to start polishing your game content now and express yourself through each frame of the game.


